
[go back to the main polyhedral pictures page]
Making the polyhedral part of my model of Eek! the bat was a simple
enough process after having already designed
Amble the panda
and
my unnamed badger.
My Dia processing script required only trivial tweaks to make sure
it handled colour correctly, and then it was just a matter of
drawing another set of
Dia
diagram files and defining what parts of the sphere they should be
projected on to. Having done that, drawnet.py produced
an entirely acceptable net of Eek!'s body.
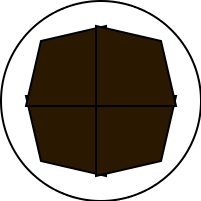
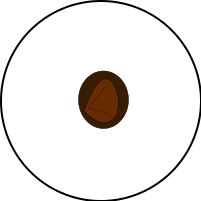
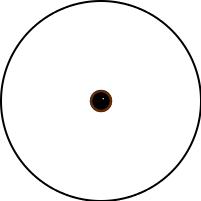
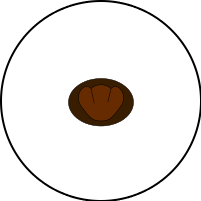
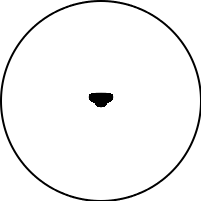
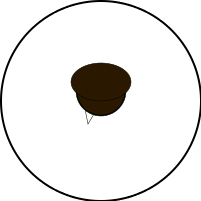
As you can see from the first of the above images, I coloured the background brown using the same simple approach as in the badger. Then there's an individual image for the ear (mirrored on each side), the eye (copied to each side without mirroring, so the highlights point the same way), the paw and the nose. The final image gives one of the two teeth (and is mirrored to provide the other one), and the mouth. I was hampered in the mouth by the limitations of Dia, which didn't want to let me draw only a section of an ellipse; so I had to draw the entire ellipse with a black outline, and then cover the top half with another ellipse that had no outline. Silly, but it worked.
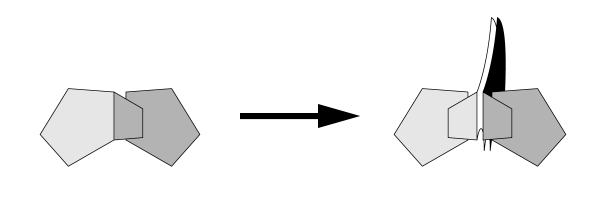
The big challenge in making a bat is that you can't really get away with not giving him wings. So I had to come up with a way to stick wings on to a polyhedron, without affecting any of the artwork I had so carefully drawn on the outside of the polyhedron, and without compromising the solid's structural integrity.
Clearly the easiest way to attach a wing is at an edge of the polyhedron: that's where you're already gluing things together, so gluing something else in there as well shouldn't make matters much worse.
After some thought, I decided the best thing to do would be to make a double-sided wing out of two pieces of cardboard stuck back to back (which enables it to be printed black on both sides without the need for exciting printer technology), and give it a pair of flaps folding out in opposite directions. Then you remove the tab which would normally glue together the two faces meeting at the target edge, and instead of that flap you insert your wing, with one of its flaps glued to the inside of each of the two adjacent faces. So the wing sticks out between the two pentagons, and holds them together itself in place of the original flap.
So I had to tweak the net of the dodecahedron to make sure the edges where I wanted the wings to go were cut edges rather than folded edges. I might also usefully have pre-removed the tabs for those edges, but in fact I didn't bother; the user can just as easily cut them off at construction time, and doing it like that simplifies the software considerably.
Finally, of course, I had to carefully measure the edge length of the dodecahedron in the final net, and make sure to generate the wings at the right size so that the attached end was exactly as long as the dodecahedron edge.
Here's the PDF net of Eek!, without the wings.
Here's the PDF of the second sheet that generates the wings. Cut all four wings out, glue them back-to-back in pairs leaving the flaps unglued, and fold the flaps outwards in opposite directions. Then, for each wing, remove a tab from the dodecahedron net, and use the two flaps of the wing in place of that tab to hold the two pentagons together.
[go back to the main polyhedral pictures page]
(comments to anakin@pobox.com)
(thanks to
chiark
for hosting this page)
(last modified on Sun May 7 14:33:22 2017)